
Print Scale and Pattern Placement
Make prints strategically work for you. Give your doll clothes a professional edge. Fabric design placement and scale for doll clothes can be a challenge, and there is an easy way to be successful every time. Learn how to make and use an inexpensive framing template to obtain the perfect style.
Supplies Needed
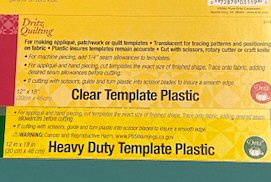
Clear plastic template
Paper scissors
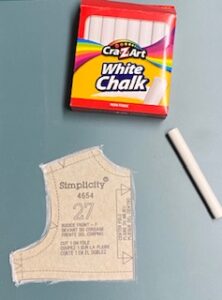
Chalk (so you can easily wipe off the template)
Painter’s tape (optional)
Working with prints to use in doll clothes requires careful placement and use of scale.
I use a framing template made from a plastic template sheet. The template sheets can be found in a craft store. For more information on the template and template options, search “plastic template.”* There are a variety of brands. I use medium to heavy-duty clear for best results.
Steps
A. Prepare a template
B. Trace the pattern piece on the plastic template.
C. Place the template on the fabric and align the design.
D. Align the pattern piece under the plastic template and remove the template.
E. Cut out the pattern piece.
Prepare the Template
Cut a piece of template large enough to fit a doll dress front pattern plus five or six extra inches in length and width. This way, you can continually use the template for various sizes of patterns such as a top, pants, shorts, etc. Once you have finished with the template, you can wipe it off and reuse it with other pattern pieces. With this method you do not cut the template.
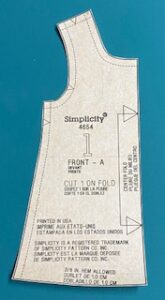
Trace the Pattern on the Template
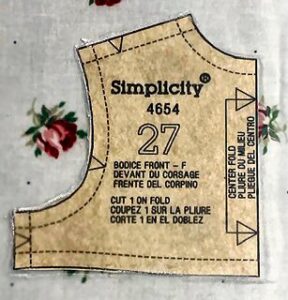
Slide the pattern under the template and outline the pattern with chalk. Using chalk of any color, trace the pattern. I prefer the white chalk as it clearly shows the template and stands out in most fabric colors. The chalk can be purchased just about anywhere. The image shows the pattern top outlined with chalk on a large piece of plastic template. Be sure not to cut out the template.
Place the Template on the Fabric
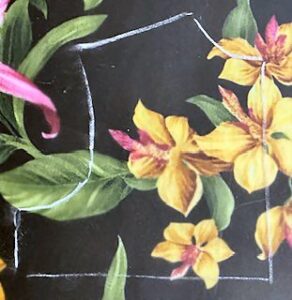
Place the template on top of your fabric. Move the template around until you have the desired placement of the fabric design.
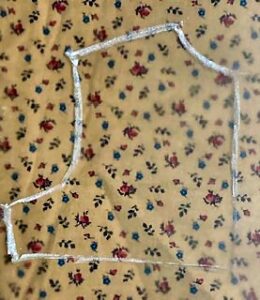
Try to have a complete design inside the template as pictured. You can see the shoulder and body flowers are aligned. Note this pattern has a fold line. To align design correctly open up the fabric flat. The flower is lined up in the middle of the template on the fold. Trace the outline for the left side and then flip the template, align center and trace the right side.
Hints for Aligning the Template
Adjust the template to ensure the design relates to scale and position on the pattern piece finding the placement you want to use. Note the large flower pattern may not be the appropriate scale.
Align the Pattern
Slide the paper pattern piece back under the template, lining it up with the chalk line. Carefully lift the template. You can also place a small amount of painter’s tape on a corner of the template to hold the plastic until you have the pattern piece lined up.
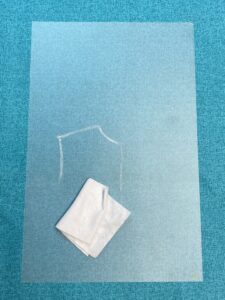
This is an example of a bolero jacket made using the framing template. The fabric is a handkerchief.

When you are done with the template for a pattern piece, simply wipe the template off to use again. A dry cloth will work. If there is still some residue left after wiping with a dry cloth, a slightly damp cloth can be used. Be sure to use a dry cloth first. The dry cloth has worked for me. You now have a template sheet of plastic to use multiple times for multiple-size pattern pieces. This example also shows the size of plastic template I use and is sized for dress patterns and larger garments.
*Due to computer viruses, security issues, and changing websites, search phrases are provided to help you locate products and more information.